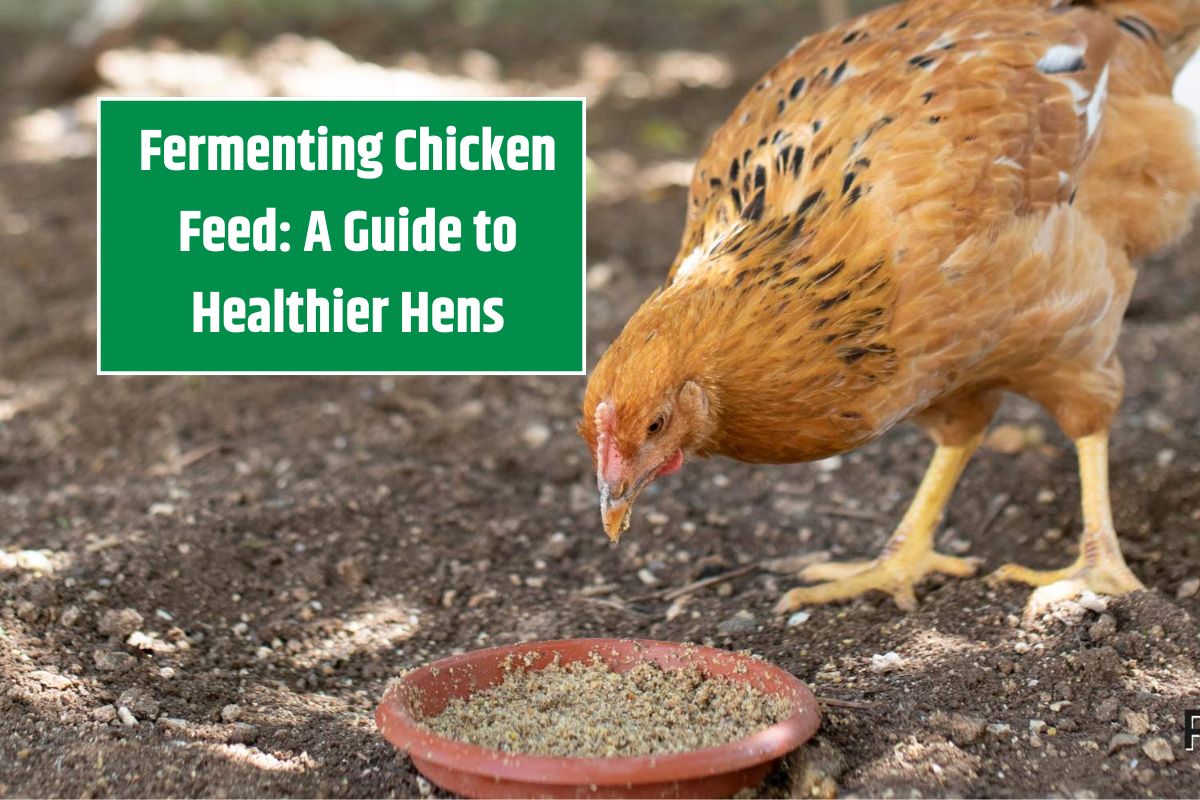
Fermenting chicken feed is a simple yet powerful way to improve the health and productivity of your flock while saving money on feed costs. By learning the basics of how fermentation works, the benefits it provides, and how to prepare it, you can make this nutritious treat a regular part of your chickens’ diet.
What is Fermented Chicken Feed?
Fermented chicken feed is feed that has undergone a natural fermentation process. This process involves soaking the feed in water, allowing wild yeasts and bacteria from the air to break down sugars and starches into beneficial nutrients like lactic acid bacteria. The result is a highly nutritious, probiotic-rich feed that your flock will love.
How Does Fermentation Work?
- Wild Yeasts and Cultures: Naturally present in the air and on feed ingredients, these organisms initiate fermentation.
- Chemical Breakdown: Sugars and starches in the feed are converted into beneficial compounds, including probiotics.
- Fermentation Period: The process usually takes 3–4 days, during which the feed absorbs water, ferments, and becomes more nutrient-rich.
Benefits of Fermented Chicken Feed
Nutritional Benefits for Chickens
- Probiotics: Boost gut health and improve digestion.
- Enhanced Protein: Protein in the feed becomes more bioavailable for digestion.
- Better Calcium Absorption: Phosphorus becomes more digestible, aiding calcium utilization.
- Reduced Sugar: Fermentation naturally lowers the sugar content of the feed.
Health Benefits for the Flock
- Bigger, Better Eggs: Hens may lay larger, higher-quality eggs.
- Improved Immunity: Probiotics and beneficial bacteria strengthen the immune system.
- Less Waste: Fermentation improves feed efficiency, reducing the amount of waste and droppings.
Cost-Effectiveness for Keepers
- Feed Efficiency: Fermented feed expands, meaning chickens need less to feel full.
- Lower Costs: You can ferment half the amount of dry feed to meet your flock’s daily nutritional needs.
- Easier Cleanup: Drier, less smelly droppings make coop maintenance easier.
How to Ferment Chicken Feed
What You Need
- Chicken feed (preferably whole-grain feed).
- A large glass or plastic jar (avoid metal containers).
- Cool, untreated water.
- Cheesecloth or a porous cover.
- Rubber bands.
- A wooden spoon for stirring.
Step-by-Step Instructions
- Day 1, Morning
- Add half the amount of feed your flock normally consumes in a day to a jar.
- Pour in enough water to cover the feed by 2 inches. Stir well.
- Cover the jar with cheesecloth and secure it with a rubber band.
- Day 1, Afternoon and Evening
- Check the water level and stir the feed. Add more water if the feed absorbs all the liquid.
- Days 2–3
- Stir the feed 2–3 times daily. Bubbles will appear, indicating active fermentation.
- By Day 3, the feed should have a sour, slightly yeasty smell.
- Day 4, Morning
- The feed is ready! Strain it using a slotted spoon or serve it as-is in a bowl.
Tips for Fermenting Feed
- Use whole-grain feeds for the best results.
- Avoid over-fermenting the feed (3–4 days is ideal).
- Always ensure the feed is submerged in water to prevent mold growth.
- Fermented feed should have a thick, mash-like consistency.
How to Serve Fermented Feed
- Straining Method:
- Use a slotted spoon to remove the feed and strain out excess water. Serve in a bowl.
- Save the remaining liquid to jumpstart the next batch.
- Direct Serving:
- Pour off any excess water and serve the thick mash directly in a dish.
Note: Remove leftover feed at the end of the day to prevent spoilage or mold growth.
Tips for Introducing Fermented Feed
- Sprinkle treats (like dried grubs) on top to entice chickens to try it.
- Start by fermenting a small batch and offer it as a treat. Once your flock enjoys it, ferment their full daily ration.
- Remove other feed sources on the days you offer fermented feed.
Schedule for Fermenting Feed
Here’s a sample schedule if you plan to feed fermented feed twice a week:
- Sunday: Start fermenting feed.
- Monday–Tuesday: Stir the feed 3 times daily.
- Wednesday: Serve the first batch and start a second batch.
- Thursday–Friday: Stir the second batch.
- Saturday: Serve the second batch and clean the container.
This schedule can be adjusted if you want to ferment feed daily or only as a treat.
Precautions When Fermenting Feed
- Watch for Mold: If the feed smells off or shows visible mold, discard it.
- Avoid Metal Containers: Use glass, plastic, or wood to prevent interference with fermentation.
- Keep It Covered: Use cheesecloth to allow airflow while keeping out debris.
- Maintain a Cool Environment: Store the feed in a cool, dark place for the best results.
Why Fermented Feed Is Worth It
Fermented feed provides numerous benefits for your flock and simplifies chicken keeping:
- Healthier hens with stronger immune systems.
- Improved egg production and quality.
- Cost savings on feed.
- Cleaner coops with less waste.
Once you get into the habit of fermenting feed, it becomes an easy and rewarding addition to your routine!
Frequently Asked Questions
1. How long does it take to ferment chicken feed?
It takes about 3–4 days to ferment chicken feed.
2. Can I use any chicken feed for fermentation?
Whole-grain feeds work best for fermentation as they ferment more effectively and provide the most nutritional benefits.
3. How do I know if the feed is fermented?
Look for bubbles in the mixture and a sour, slightly yeasty smell.
4. Can fermented feed spoil?
Yes, if mold forms or the feed smells off, discard it immediately.
5. How much fermented feed should I give my chickens?
Fermented feed expands, so give half the amount of dry feed your flock normally consumes.


